Crochet Gown Vintage 5 inch “Tiny Teen” Doll

Crochet Gown For 5 inch Vintage Tiny Teen Doll


Collectors are a determined breed of people. We will quest, ad infinitum, for that desired piece to add to our collection. Doll collectors take this determination to an even higher level, as, more often than not, we are questing for the dolls, the clothing and other accessories that belong to a particular doll. There are times that finding a “complete doll” is as rare as finding a unicorn with our “complete doll” perched on top.

I am a baby boomer age collector. Most of the dolls I collect are the dolls from my childhood. This pattern is to create a gown for one of my collecting favs – the 5 inch Tiny Teen doll.

 Materials Needed

1 Ball Size 10 Crochet Cotton Thread

1 Size “7” (1.65mm) steel crochet hook

2 approximately 4mm pearl beads

Tapestry needle (or other larger eye needle)

Small sewing Needle (needs to fit through the bead hole)

Sewing thread.

Scissors

 Stitches Used

Sc – Single crochet

Ch – Chain

Dec – Decrease                                              

Sl st – Slip Stitch

Dc – Double crochet


 Pattern

 Gown Top

Ch 21,

 Row 1; Work 1 sc in the 2nd ch from the hook and in each ch across. (20) Turn (mark as the right side)

 Row 2; Ch 1, Work 1 sc in each sc across. (20) Turn

 Row 3; Ch 1, Work 1 sc in each of the next 3 stitches. Ch 7, skip 2 stitches,  Work 1 sc in the next 10 stitches. Ch 7, skip 2 stitches,Work 1 sc in each of the remaining 3 stitches.

 Row 4; *You will be working in to each chain stitch of the ch 7 arm openings* Ch 1, Work 1 sc in each of the first 2 stitches. Work a sc dec through the  next 2 Stitches. Work 1 sc in each of the next 5 stitches. Work a sc dec through the next  2 stitches. Work 1 sc in each of the next 8 stitches. Work a sc dec through the next 2 stitches. Work 1 sc in each of the next 5 stitches. Work a sc dec through the next 2 stitches. Work 1 sc in each of the remaining 2 stitches. (Turn)


Row 5; Ch 1, Work 1 sc in each of the next 8 stitches. *(Work a sc dec through the next 2 stitches) 2 times.* Work 1 sc in each of the next 2 stitches. Repeat from * to *. Work 1 sc in each of the remaining 2 stitches.

Cut and secure thread.


Skirt (worked in rounds)

 With Right side of top facing you, Join thread with a sl st. Work 1 sl st in each of the stitches across. With Right side of top facing in, join to beginning sl st with a sl st.

 Rnd 1; Ch 2 (does not count as a stitch now and throughout) Work 2 dc in each sl st Around. (40) Join to the beginning dc with a sl st

 Rnd 2 -6; Ch 2, Work 1 dc in each stitch around. (40) Join to beginning dc with a sl st.

 Rnd 7; Ch 2, *Work 1 dc in each of the next 4 stitches, Work 2 dc in the next stitch.* Repeat from * to * around. (48) Join to beginning dc with a sl st.

 Rnd 8 – 9;  Ch 2, Work 1 dc in each stitch around. (48) Join to beginning dc with a sl st. *if you want a longer skirt, work another round*

 Rnd 10; Ch 1, Work a sc in each stitch around. Join to beginning stitch with a sl st. (48)

 Cut and secure thread.


Neckline

Turn the gown to right side facing out.

 Attach thread to the top left side of the neckline (top of the “V” opening in the back)  with a sl st. Work 1 st sl  AROUND THE POST of each stitch of the top’s row 5.

After working the last sl st on the top right side of neckline, Ch 5 (this acts as a loop for the “bead button”) sl st in the same stitch.

Work 4 more sl st down this same side of the “V” opening in the back.  Ch 5, sl st in the same stitch.

Work a slp st in the base of the “V,” Evenly space 5 sl st along remaining side of the “V” to Top of gown. Join to beginning sl st.

 Cut and secure thread.

  Sew each bead / button in place opposite of loops.

Weave in all ends.

witchtiny 128x160

Cpr Karen Glasgow Follett 2018


Crochet Bath /Spa Pouf Puff

50″ type=”rectangular”]

CROCHET BATH / SPA POUF PUFF

Karen Glasgow Follett Designs 2016

These crochet puffs are a generous size of 12 inches in circumference. The puffs suds up liberally with your body washes and bar soaps. And best of all – THESE PUFFS ARE WASHABLE!!! No more puffs that turn into shower science experiments!!!! Easy to create and great cotton stash busters!!!

MATERIALS NEEDED

1 ball (approx 2.5 oz) 4ply ww Cotton Yarn

Size “K” (6.5 mm) crochet hook

Tapestry needle to weave in ends

Safety pin or stitch marker

 STITCHES USED

Magic Circle – this is a method that creates a virtually “no hole” center. If you do not wish to do the magic circle, begin your work with by chaining 4 and joining to beginning chain with a slip stitch.

Single Crochet – Sc                                     

Double Crochet – Dc

Slip Stitch – Sl st

Chain – Ch

PATTERN

Work a Magic Circle or Ch 4 and Join to beginning ch with a sl st.

Ch 30 and join to the magic or ch 4 circle. (this create the hanging loop)

***Mark the beginng stitch of each round with a stitch marker***

Rnd 1, Ch 1, Work 25 Sc in the beginning circle. 

             Join to beginning sc with a sl st. Tighten circle

Rnd 2, Ch 3 (acts as first Dc)  Work 4 more dc in the same stitch.

            Work 5 dc in each stitch around. 

            Join to beginning ch 3 with a sl st.

Rnd 3,  Ch 3, Repeat Rnd 2.  Join to beginning ch 3 with a sl st.

Cut and secure yarn and weave in ends.

 witchtiny 128x160


 KarenGlasgowFollettDesigns 2016


Miniature Doll Chair in Crochet

Miniature Doll Chair in Crochet

minichair1


Crochet a chair that would be a welcome addition to even the most discerning doll’s house. The finished sizes of these chairs are; 2 ½ inches from base to top of chair, 1 inch from base to seat. 1 ¼ inches in seat diameter. So perfect for small dolls that delight today’s children and for those vintage small dolls that delight the adult collector!

minichair2


Materials Needed

4ply WW yarn                
Size “F” (3.75 mm)

Tapestry needle

Size 7 mesh plastic Canvas

Plastic canvas circles

Scissors

Fiber fill or cotton ball

Tape measure optional

Stitches Used

Single Crochet (sc)

Double Crochet (dc)

Slip Stitch (sl st)

Half Double Crochet (hdc)

Chain (ch)

Whip stitch sewing

The Plastic Canvas Frame

Cut a 1 ¼ inch circle for the seat

Cut a 1 inch circle for the back

Cut a 1 inch wide strip for the side. (you can cut the length down when you get ready to join the two ends)

Align the side of the chair side with the side of the chair seat. With yarn and tapestry needle, whip stitch side to seat. Cut length of side as needed to align, and whip stitch chair sides together. Do not cut yarn as yet.

minichair3

Place desired amount of fiber fill in chair base. Using yarn and needle, secure fiber fill with a few stitches taken from side to side. Cut and secure yarn.

minichair4

Pattern

Chair seat and sides

Special notes: The beginning of each round chain is not considered as a stitch throughout the

                          pattern.

                         The number in () is the stitch count at the end of the row / round

Seat

Magic circle (if you are not comfortable with a magic circle, begin with a ch2 and work in the 2nd ch from the hook)

Rnd 1 – Ch 1, Work 10 hdc in the loop, join to beginning hdc with a sl st. (10)

Rnd 2 – Ch 1, Work 2 hdc in same stitch as joining, Work 1 hdc in next stitch. *Work 2 hdc in

next stitch, 1 hdc in the next stitch* Repeat from * to * around.

Join to beginning hdc with a sl st. (15)

Side

Rnd 3 – Ch 1, Working in back loops (BL) Work 1 hdc in each stitch around.

Join to beginning hdc with a sl st. (15)

Rnd 4 – Repeat Round 3. (15) Leaving a long yarn tail for whip stitching, cut and secure yarn.

Bottom

Repeat Seat instructions (magic circle, round 1 and round 2) Cut and secure yarn

Place chair seat and sides over the chair base (fiber fill is facing up). This will be a snug fit.

Place chair bottom against plastic canvas circle of chair base.

Thread yarn tail through tapestry needle and whip stitch chair sides to chair bottom. Cut and secure yarn, bury ends in the chair base / fiber fill.

Back

(make 2)

Magic circle

Ch 1, Work 15 dc in the loop. Join to beginning dc with a sl st. Leaving a long tail, cut and

secure yarn.

Sandwich the 1 inch plastic canvas circle between the front and back pieces of the chair back. With long tail, whip stitch (or sc stitch) chair back pieces together. Align chair back with unworked loops of round 3 of chair seat / side. Whip stitch chair back to chair base through at least 3 stitches.

Arms

(make 4)

Ch 1, Work 7 sc in the loop. Join with a sl st to beginning sc. Leaving a long tail, cut and

secure yarn.

Align 2 arm sides together. Whip stitch (or sc stitch) sides together. Repeat with other 2 chair arm sides. Place chair arm abutting both the unworked loops of round 3 and the side back. With long tail of yarn, whip stitch chair arms to chair base and chair back. Repeat with other arm.

Skirt (optional)

Join yarn to the unused loops of round 4,

Ch 2, (does not count as a stitch) Work 1 dc in same stitch as joining, ch 1, *Work 1 dc in next

loop, ch 1* Repeat from * to * around. Join to beginning dc with a sl st.

Cut and secure yarn. Weave in ends.

Cpr 2015 Karen Glasgow Follett Designs


Fashion Doll Size Chairs in Crochet

Fashion Doll Size Crochet Chairs

OLYMPUS DIGITAL CAMERAOLYMPUS DIGITAL CAMERA

 Finished size approx; 6 inches from top of chair to bottom of chair

                                      2 ¾ – 3 inches from seat to bottom of chair

                                      Seat diameter 3 inches

                                      Back diameter 3 inches


Materials Needed;

4ply WW yarn in color of choice and an accent color if desired

Size “H” (5 mm) crochet hook

2 – 3 inch (either purchased or made) plastic canvas round (one for seat base and one for back)

3 inch (count of 14 bars) 7 mesh plastic canvas – cut to circumference of 3 inch plastic canvas circle

Fiber Fill

Yarn Needle

Scissors (you might not want to use your good scissors to cut the plastic canvas)

Sewing Thread and long sewing needle (optional)

3 buttons (optional)

OLYMPUS DIGITAL CAMERA


Pattern / Instructions


Create Chair / seat base –

Position the plastic canvas strip along the edge of the plastic canvas round. With yarn and yarn needle, whip stitch long edge of strip to edge of round until the short end mesh meet. Cut off excess plastic canvas and whip stitch short ends of plastic canvas together.  Secure and cut yarn.

Stuff plastic canvas base with fiber fill.  You can better secure the fiber fill in place by taking some loose stitches across the base diameter with yarn.  Set base aside.

 OLYMPUS DIGITAL CAMERA


Crochet Pattern for seat and base

Stitches used

Chain (ch)

Slip stitch (slp st)

Double Crochet (Dc)

Half Double Crochet (Hdc)

Treble Crochet (Tr)

Single Crochet (Sc)

Front Loops (FL)

 Special Notes;

There are many ways to begin a double crochet round or row. Traditionally, we are taught to begin with a ch 3. This beginning Chain acts as the 1st dc  with the second dc to be worked in the 2nd stitch.  This is an excellent beginning to a dc row or round. However, this method can also create a “gap” between the ch 3 and the next dc.  For this project, I began the dc rounds with a ch 2 and dc in the same stitch. The ch 2 does not count as a stitch, but it eliminates the gap perception.  Feel free to use any method of beginning the round that you prefer to work. Just make sure that the stitch count is consistent with the written pattern.

 At the edge of the seat, you will be instructed to ch 1 and turn the round (so the wrong side is facing you) Then you will be instructed to work the next round’s stitches around the post of the previous round’s hdc.  This method creates a very defined turn and edge to the seat. 

 With 4 ply WW yarn and “H” hook:

Make Magic Circle or Ch 3,

 Rnd 1,  Work 15 Dc in the magic circle (or in the 3rd chain from hook). Join to top of

              The beginning Dc with a slp st.  (15)  (snug up the magic circle)

 Rnd 2,  Work 2 Dc in each dc around. Join to top of beginning Dc with a Slp st.

              (30)

Rnd 3,  Ch 1, Work Hdc in the same stitch as joining and in each stitch around.

             Join to beginning Hdc with a slp st. (30)

Rnd 4,  Ch 1, Turn, (wrong side facing) Work Hdc around the post of the same

             Stitch as joining, Hdc around the post of each stitch around.  Join to

             Beginning Hdc with a slp st.  (30)

Rnd 5,  Dc in each stitch around. Join to beginning Dc with a slp st. (30)

Rnd 6,  Dc in each stitch around. Join to beginning Dc with a slp st.  (30)

Rnd 7,  Dc in the FL of each stitch around. Join to beginning Dc with a slp st. (30)

Cut and secure yarn. 

OLYMPUS DIGITAL CAMERA


To crochet chair base bottom; Repeat Rounds 1 through 3 of Chair seat. 

Cut and Secure yarn. 


Fit seat base over plastic canvas seat base.  *This will be a snug fit. But since most yarn has an inherent “stretch and relax” characteristic, (meaning it will stretch and grow bigger as it relaxes) the snug fit will help assure and nice, neat look upon completion.*  Line seat base bottom and pin to base if needed. Secure bottom to seat base sides by whip stitching or slp stitching last round stitches of bottom to last round stitches of base.  (if you are working stitch to stitch, you will have 30 stitches around)  Cut and secure yarn.  Weave in or bury ends in the fiber fill. 


Chair skirt.  *** Note you can complete the chair skirt prior to covering the plastic canvas.  If you do this, crochet with a looser tension to prevent a tighter fit. ***

Join yarn (either main color or an accent color) to an unused loop of round 7, Ch 3, Tr crochet in same stitch. Work 2 Tr in each stitch around.  Join to top of beginning Tr with a slp st.  (60) Cut and secure yarn. Weave in ends.

Create Chair Back

 Lightly cover a 3 inch plastic canvas round with a fiberfill layer. Lightly tack fiberfill in place as you did with the chair seat if desired.

 Crochet Pattern for Chair Back and Arms

 Back

Make 2 (for front and back)

 Make a magic circle or Ch 3,

Rnd 1, Work 15 Dc in the magic circle or in the 3rd ch of Ch 3.  Join to beginning

             Dc with a slp st.  (15)  (snug up magic circle)

Rnd 2,  Work 2 Dc in each stitch around. Join to beginning Dc with a slp st. (30)

Rnd 3,  Ch 1, Work a Sc in the same stitch as joining.  Work a Sc in each stitch

             around.  Join to beginning Sc with a slp st.  (30)

Cut and Secure yarn.

With right sides facing out, join front and back pieces together by slp stitching around. Insert the plastic canvas round before stitching closed.  Finish slp st closing and cut and secure yarn. 

 Arms

Make 4 (for front and back of 2 arms)

Make a magic circle or Ch 3.

Rnd 1, Work 15 Dc in the magic circle or in the 3rd ch of Ch 3. Join to beginning

             Dc with a slp st. (15) (snug up magic circle)

Rnd 2, Ch 1, Work a Sc in same stitch as joining, Work a Sc in each stitch around.

             Join to beginning Sc with a slp st.  (15) Cut and secure yarn.

With right sides facing out, slp stitch arm front to arm back, stuffing arm with fiberfill as you slp st.  Join to beginning slp st to close.  Cut and secure yarn.

 Finishing

With yarn needle and 1 strand yarn, whip stitch chair back to chair seat working through at least 5 stitches.  Cut and secure yarn. Weave in or bury ends in fiberfill

Align arms to seat and whip stitch in place.  Then attach arm sides to back with whip stitching.  Cut and Secure yarn. Weave in or bury ends in fiberfill.

 If desired, attach decorative buttons to center points of seat and backs with sewing thread and a long sewing needle. 


Karen Glasgow Follett cpr. 2014


Crochet Scrappy Log Cabin Throw / Afghan Pattern

Crochet Scrappy Log Cabin Throw / Afghan Directions / Pattern


Like many Multi crafters, I have a craft room that is filled to the brim with my hoarding of (ahem .. collection of) craft material.  Since my passion lies in the needle arts, my yarn stash quite impressively rivals many ancient monoliths.  (Yarn – henge is in my craft room)


This over amassing of yarn has caused me to restructure my priorities.  While I do deeply desire to be victorious in the “she who has the most – wins” competition; I also recognize the distinct possibility that I might fall victim to a yarn avalanche the next time that I open my yarn closet.  (but can’t you just imagine how great it would be to be rescued by an alpaca who has circular needles in his rescue kit?)


Of course the solution to this overcrowding is to find a project that will allow me to use the currently amassed skeins, partial skeins, balls and assorted tid bits of yarn henge.  And, of course, there is a plethora of patterns that will enable the yarn addict in this endeavor.  Many of these patterns range from the mile a minute strips to motifs, which are perfect for busting through stashes.  Unfortunately, as I perused the piles of patterns that call my craft room home, I did not find a pattern that gave me that “new project anticipatory tingle.”


Personally, I happen to love quilt designs.  I am NOT a good quilter, but I love to recreate quilt motifs and designs in crochet.  I DO NOT like to sew motifs.  I want a project that “grows as you go.”  So the log cabin seemed like a perfect project. 


As fortune would dictate; I found quilting log cabin patterns, knitted log cabin patterns and crocheted strip and seam log cabin patterns.  Among this pyramid of patterns was not one crochet “grow as you go” log cabin pattern.  My quick look on the internet yielded much the same results … I still couldn’t find THE Log cabin pattern.


Since necessity and impatience are the parents of design creation, I created my own pattern to meet my needs.   Please note that I am sure that these instructions are not new.  Their simplicity pretty much assures that they are a re-invention of a previous creation.

Also note that this creation is more of a set of directions instead of a traditional pattern.  Each crocheter can adjust the directions and create a pattern that can become a one of a kind personal creation.


Directions


It is my understanding that, in traditional log cabin quilts, the center square reflects the heart (or hearth) of the home.  I chose a burgundy red as my center.  Also like a traditional log cabin quilt, each subsequent square or strip is built around this central hearth.


Feel free to use the picture as a reference.

The center square began as a ch 10.

Rw 1, Sc in the 2nd ch from the hook and in each chain across (9sc)

Rws, 2 through 9, Ch 1, sc in each sc across.

Do NOT cut the yarn at the end of row 9, but join a new color (in the picture this is yellow)


(you can adjust the start square to any size that you choose. I prefer working in odd number stitch counts and subsequent odd number row counts) 


Turn center (red) square clockwise so you will be working along the side of the center square.

Rw 1, Ch 1, Sc in the side of each row of center square (9) (working over the yarn tails of the new and old yarn will decrease the tails that need to be woven in. Cut center square yarn color when desired)

Rws 2 through 9, Ch 1, Sc in each sc across.

Join new yarn  (in the picture this is green)

Turn work clockwise (so you will working along the side of the 2nd square and along the bottom of the center square)

Rw 1, Ch 1, sc in each stitch across (18 sc) (with the addition of each strip or block, you will increase the amount of stitches across in increments of the beginning stitch count.  Since I began with a 9 sc block, I will increase 9 stitches with the addition of each new block / strip.)

Rws 2 through 9, Ch 1, sc in each stitch across (18)

Join next color (rose in the picture)


Repeat the last sequence

Add next color (blue in the picture)

Turn Clockwise

Rw 1, Ch 1, Sc in each stitch across (27)

Rws 2 through 9, Ch 1, Sc in each sc across (27)


Repeat the sequences of directions as you add to your log cabin throw until you reach the size that you want.  Work border as desired. 


2013 Karen Glasgow Follett


 log cabin sample

Steampunk meets crochet with this Crochet Skeleton Key Pattern

Skeleton Keys

Crochet Skeleton Key Pattern

Materials Needed;

1 Ball of size 10 thread (you will work 2 strands together throughout the piece)

1 size “6” steel crochet hook

Needle to weave in ends

Choice of stiffener to shape piece

Rust proof pins to hold piece in place while being shaped


Stitches used;

Sl st – slip stitch

Sc – single crochet

Ch – chain

Dc – double crochet


Key Handle

Ch 13,

Taking care not to twist the chain, join to the beg ch with a sl st.

Ch 1 and sc in the same ch as joining

Work 1 sc in the next 2 chs,  Work 2 sc in the next 3 chs, Work 1 sc in the next 3 chs,

Work 2 sc in the next 3 chs, Work 1 sc in the last 2 chs.  Join to beg sc with a sl st. (19)

(do not cut thread, you will now begin working on the shaft of the key)


Key shaft

Loosely ch 22,

Turn, loosely sl st in the 2nd ch from the hook and in each ch across to key handle (21)

Skip the beg sc that is the base of the key shaft ch. 

Ch 1, sl st in the sc next to the skipped sc of the key handle.  Ch 1 and sl st in each sc around.  (19 sl st)

Ch 1,  sl st in the first unworked loop of the ch key shaft.  Sl st in the unworked loops of each ch across (21)

Turn, sl st in the first 2 sl st, ch 2, work 1 dc in the next 2 sl st, ch 2 and join to next sl st.  Cut thread and weave in ends.

*** These would have so many uses! You could use these for appliques on pillows, bags, shirts, etc.  You could use this as a pendant (you would probably want to include a couple of beads or something for weight) a key fob, a bookmark or you name it!***


Cpr Karen Glasgow Follett Dec 2012


Broomstick Lace Crochet Halo Scarf


Broomstick Lace Crochet Halo Scarf

Lace Created working in the Round


Materials;

2 Balls (175 yards / 160m – Net Wt 2.5 oz / 70 g) 4ply WW Yarn

Red Heart Boutique Eclipse in Storm Blue used for sample

Size “I” Crochet Hook

2 Size 35 Knitting Needles.

Tapestry needle to weave in ends

Scissors

Pattern Notes

The finished size is approx 42 inches around by 6 inches wide.  If you want the finished item longer, begin with a longer foundation row worked in multiples of 5 stitches.  If you want the finished item wider, just add additional rounds of lace.

Each round of broomstick lace is worked in 2 passes.  The forward pass places (loops) the yarn on the broomstick (needle), The return pass completes the round by crocheting 5 loops together (you work 5 sc in the middle of each 5 loop grouping).

You can either remove the loops from the needle as you crochet or you can remove all of the loops from both needles prior to the return pass.  Take care that you do not lose any loops. You can thread a piece of yarn through the “live loops” to ensure that they are not lost or dropped.

Typically you use only one knitting needle when working broomstick lace. Since you are working this project in the round, you will be using 2 needles. You will place approximately ½ the stitches on one needle and the other half on the other needle.  If you can find circular needles in the correct size, those work well too.

You do not turn the work.  The right side is the side facing you.  You will join each round to the beginning stitch with a sl st.

Pattern

With “I” hook, Ch 225.  Taking care not to twist the chain, join the chain tog with a sl st to form a circle.

Rnd 1, Ch 3 (this counts as the first dc through out the pattern) Dc in next ch and in each ch around.  Join to top of beg ch 3 with a sl st (225)

Rnd 2, Working the the BL of each stitch, complete the forward pass of the broomstick.  Return pass – remove 5 loops from the needle, hold tog, insert hook into the middle of the loops, yo, pull hook back through, Ch 1 (Work a chain 1 ONLY at the beginning of each return pass) work 5 sc in the middle of the 5 loops held tog.  Continue to works loops in groups of 5 held tog with 5 sc around (you will have 45 lace motifs) Join to beg sc with a sl st.

Rnds 3 – 8, Rpt Round 2.

Rnd 9,  Ch 3, dc in each the BL of each sc around.  Join to top of beg ch 3.

Cut and secure yarn, weave in ends.

cpr October 2012 Karen Glasgow Follett


Love’s Enchantment Dream Pillow Crochet Pattern

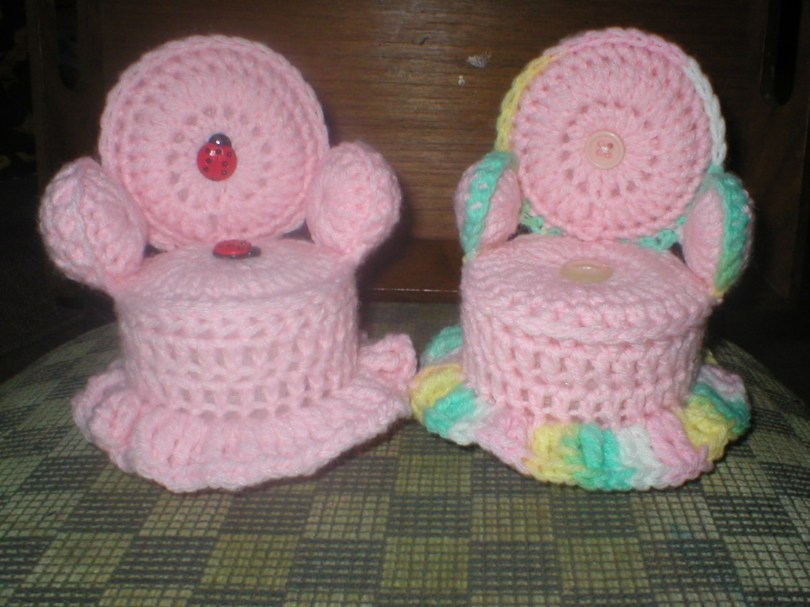
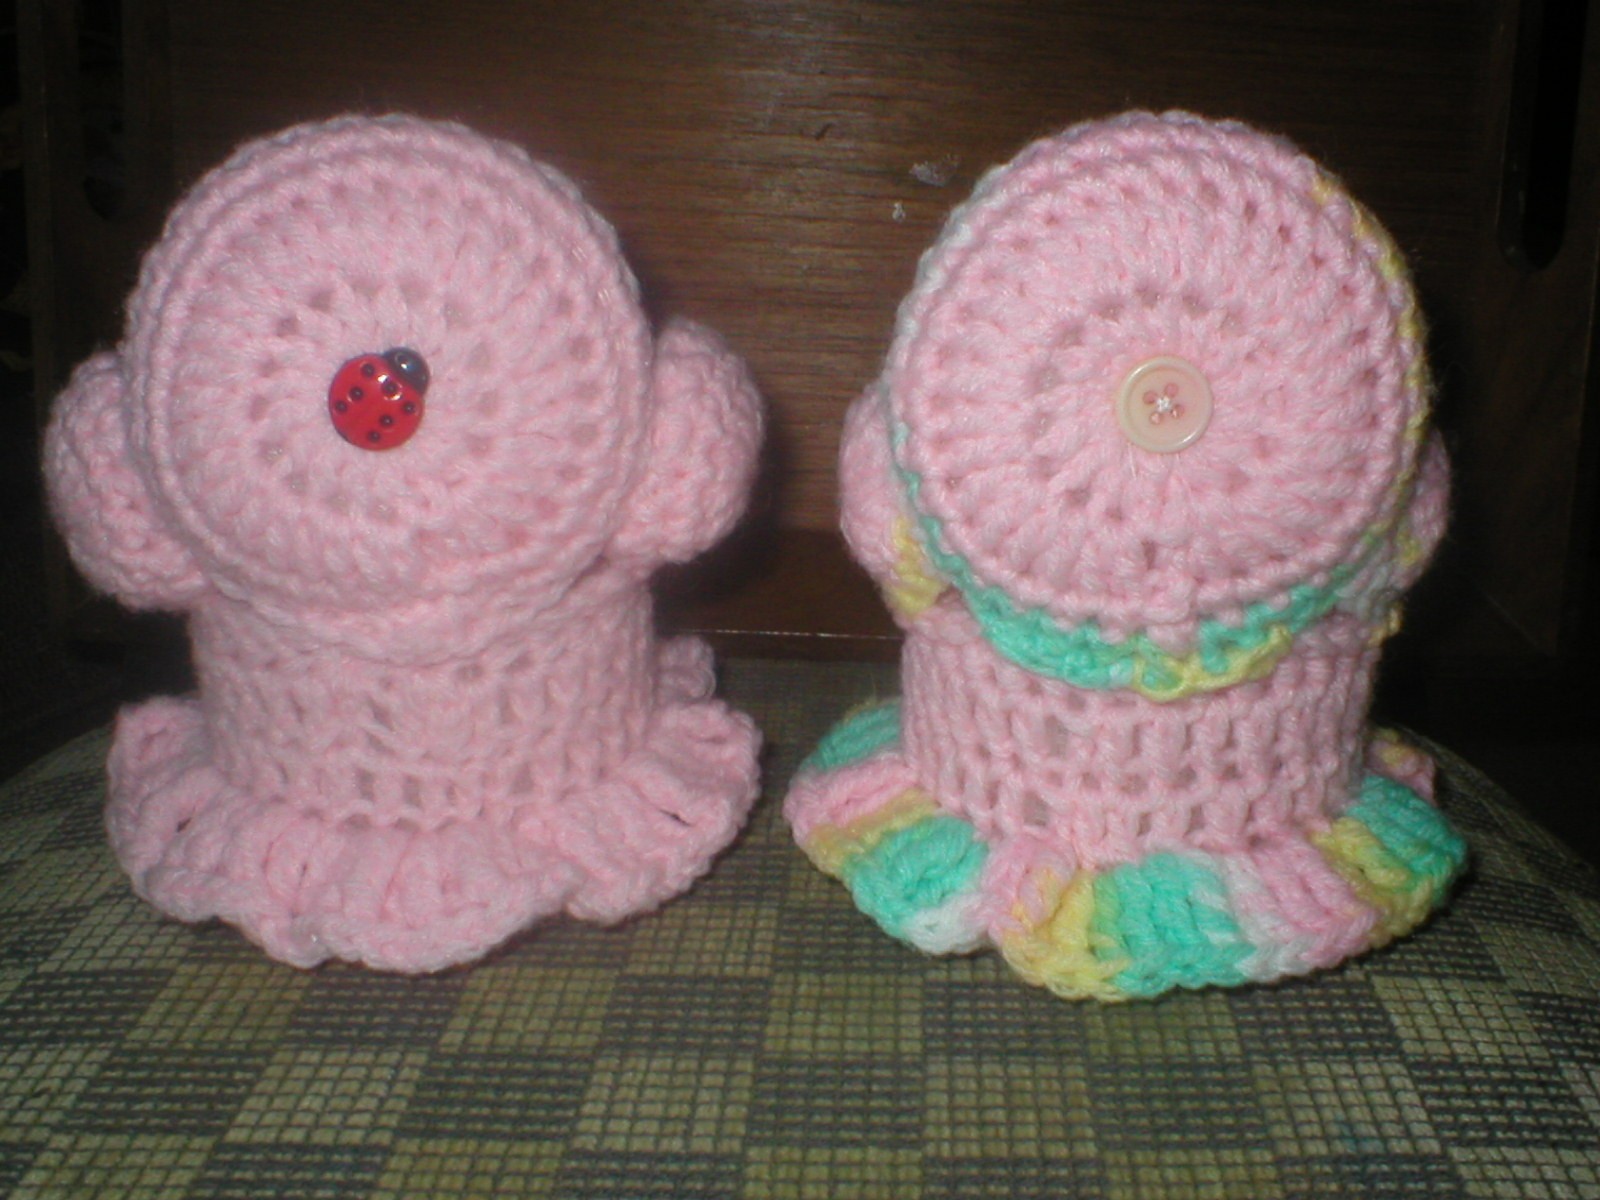
Love’s Dream Enchantment Pillow

Approximately 11 inches

CPR Karen Glasgow Follett 2011


  Dream magic is the magic of the infinite soul.. All obstacles (untoward patterns, limiting judgments, lack of confidence, ete.) imposed by the ego are transcended.  The consciousness of the dream state is that of the Higher Self.  In this realm the Higher Self (or infinite Soul) conducts the universal abundance and conveys the universal wisdom in response to the intent of our magical desires.

Magic is of the realm that knows no limitations of time or space.  Magic is used when magic is needed.   But it is universally recognized that there are events that occur when nature “paves the way” for the energies of magical work.  Since this creation is primarily one of attraction, many people may wish to begin during the waxing phases of the moon and complete with the full moon.

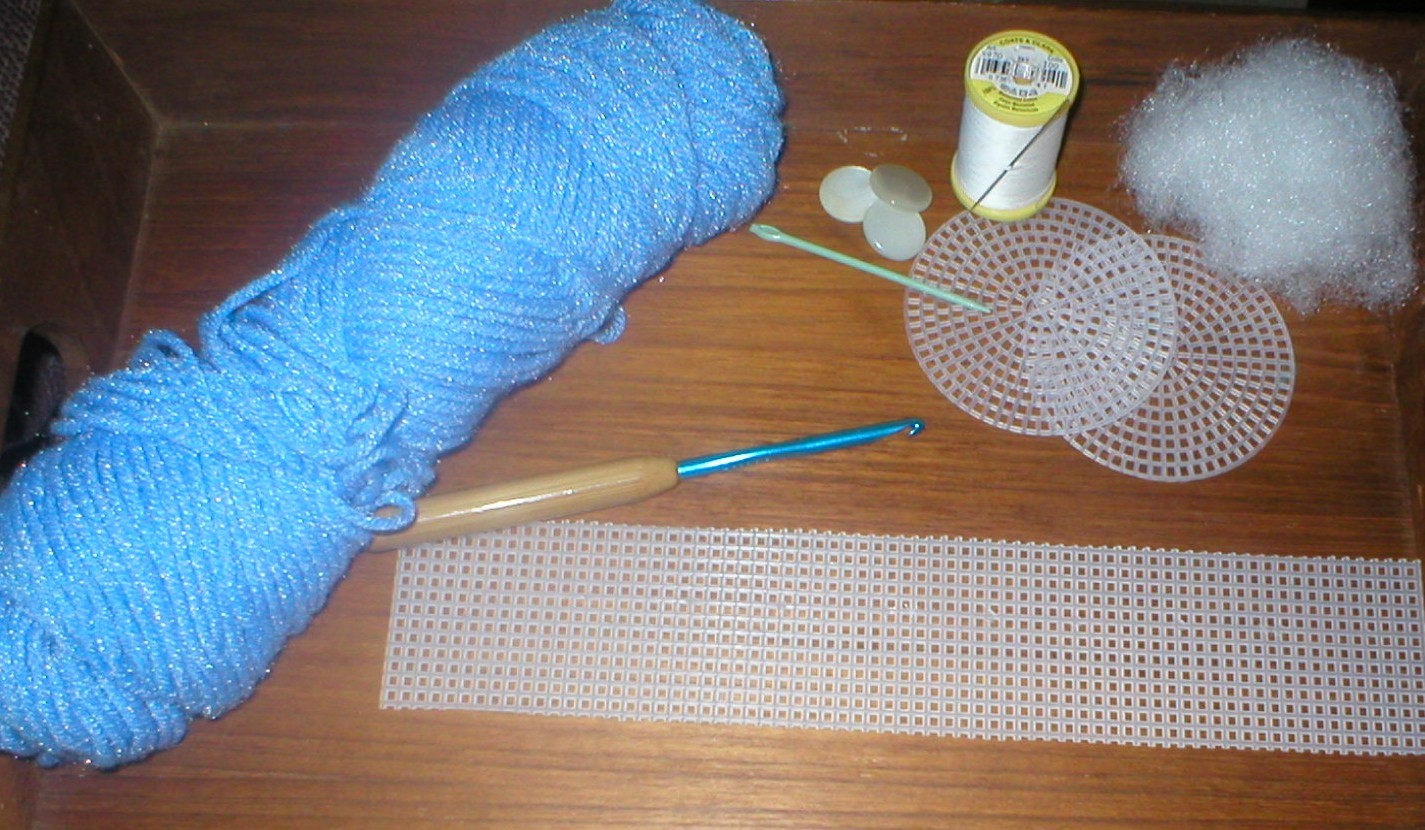
To create this magically enhanced pillow, you will need;

1 skein 4 ply ww yarn in a main color

1 skein 4 ply ww yarn in a complimentary color. “A”

1 skein 4 ply ww yarn in a complimentary color “B”

Small amount ¼ inch ribbon.

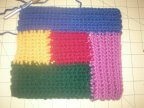
The colors selected for the pictured pillow are those most often associated with love.

Red – attraction, passion, intensity, love

Pink – Romance, gentleness, love

White – purity, flow of energy

Size “G” crochet hook

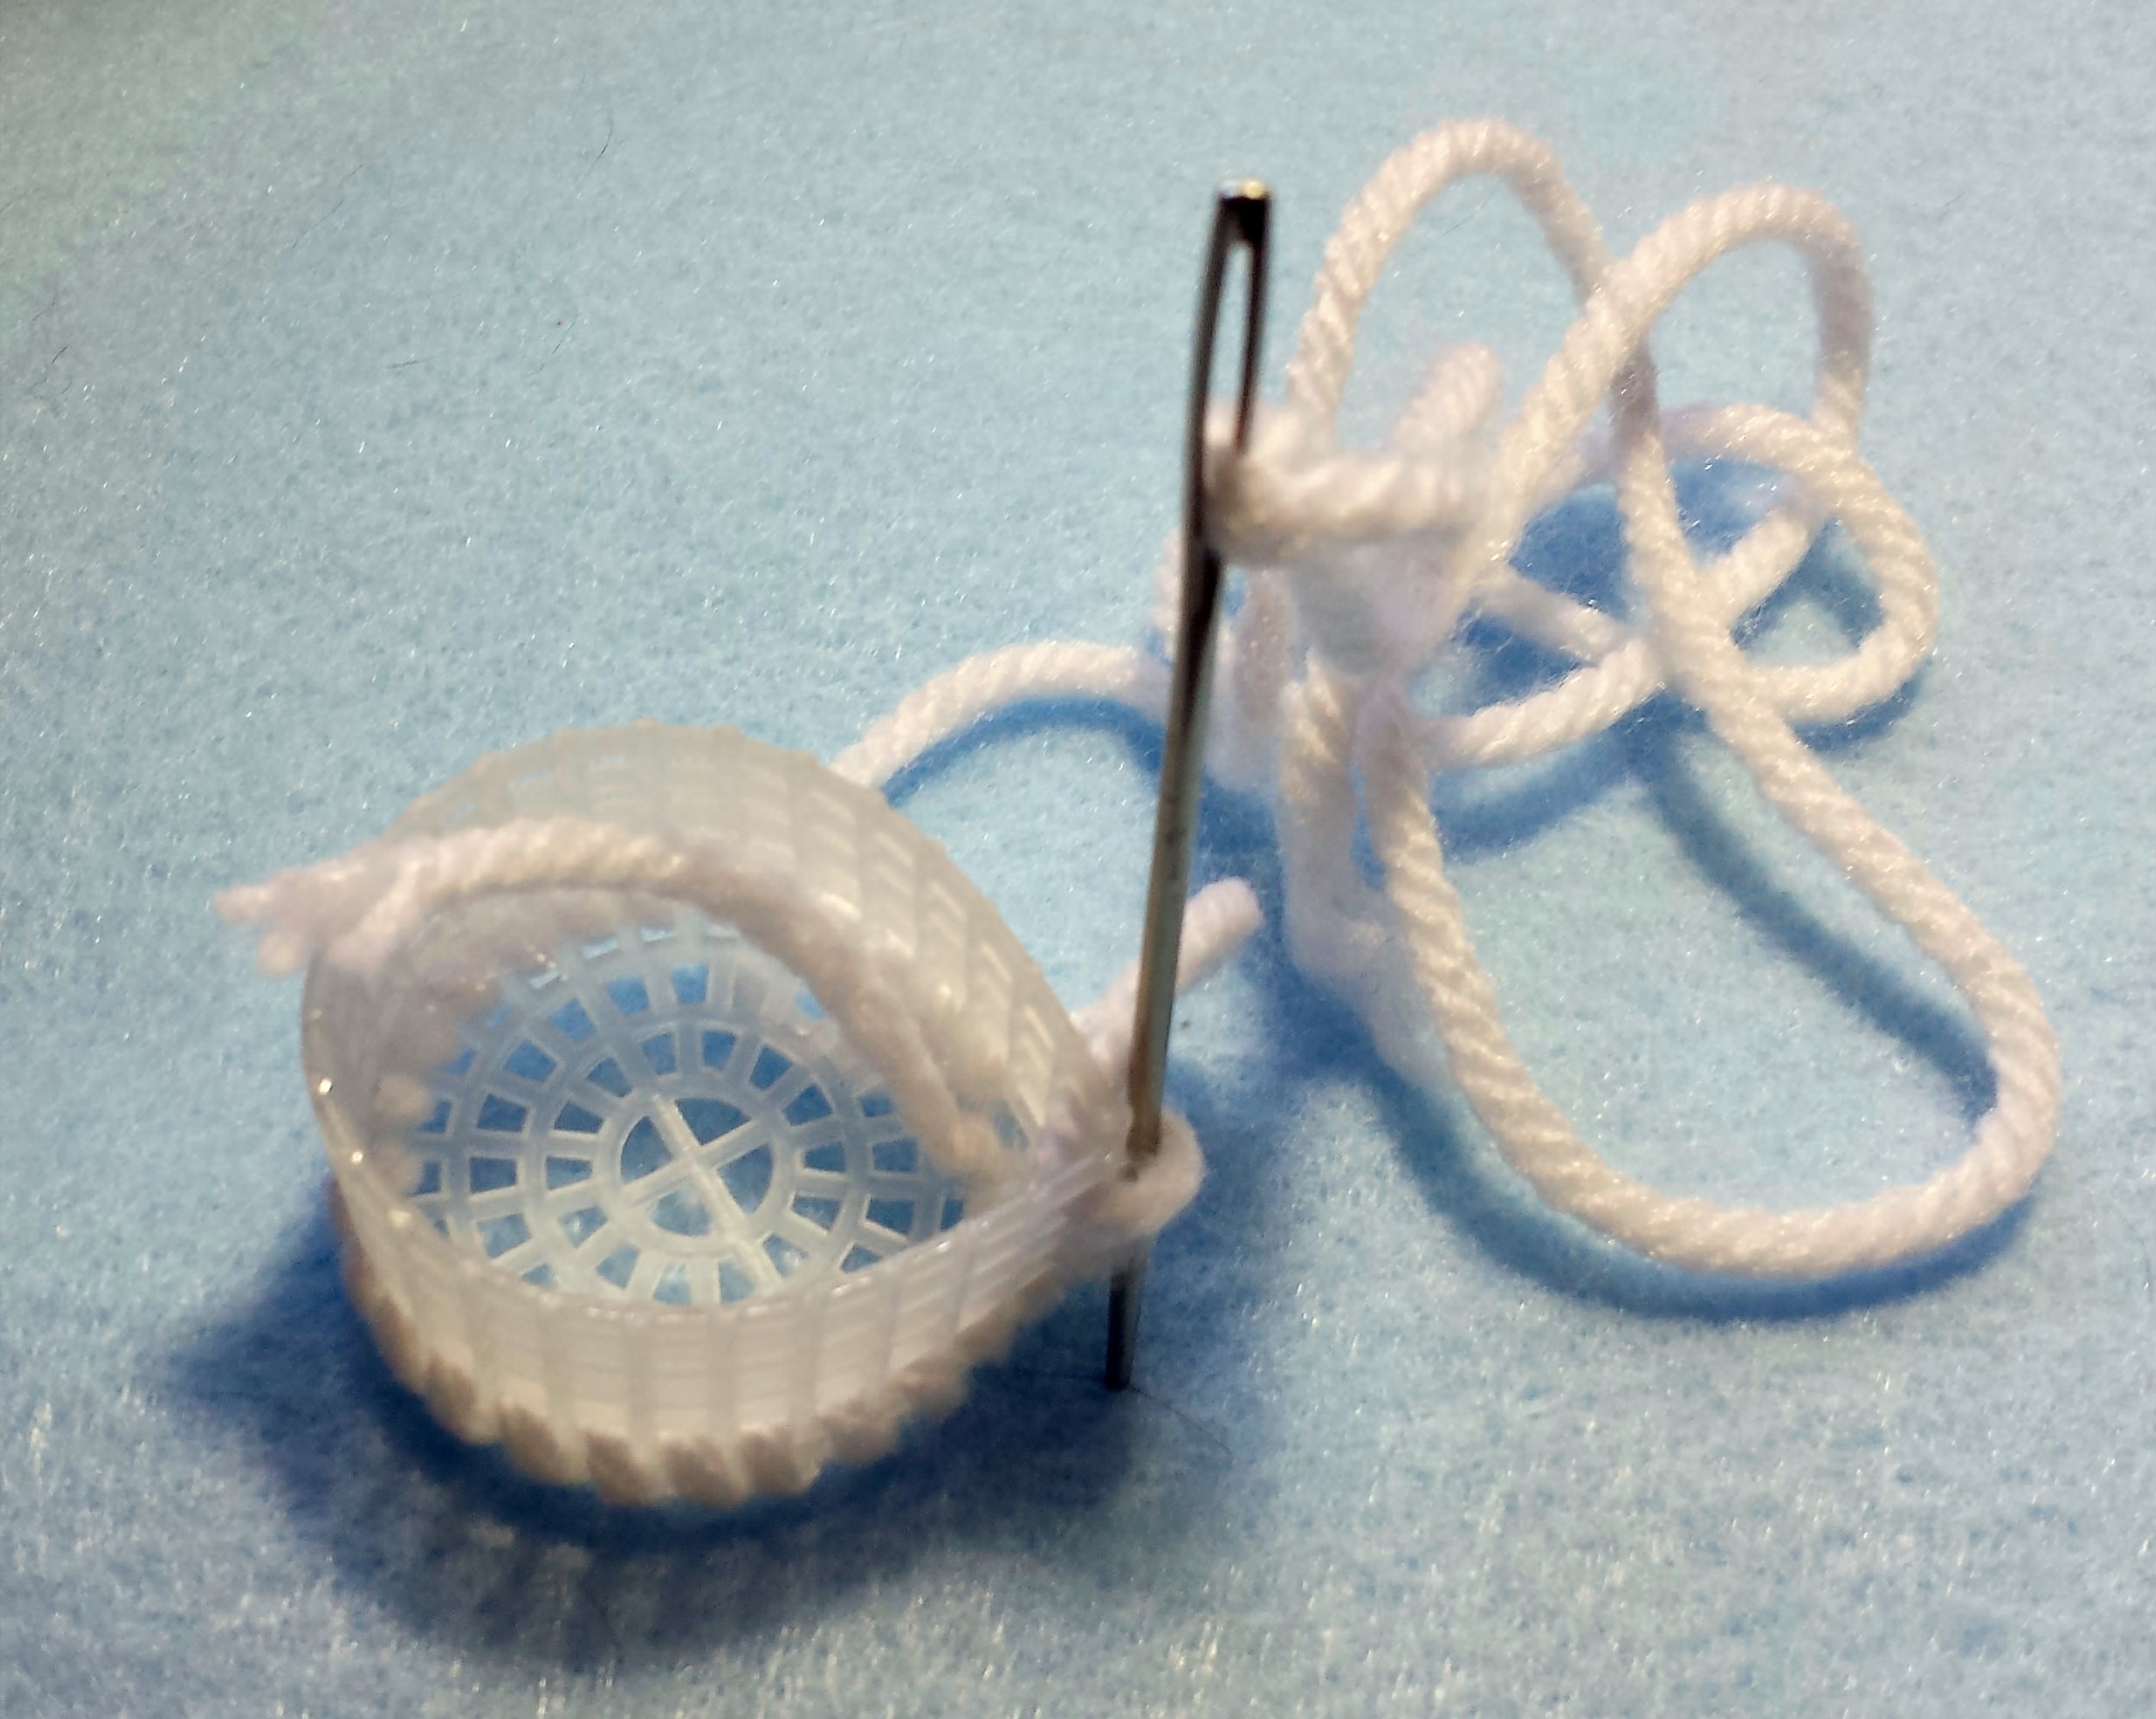
Large eye needle (ie tapestry needle) to weave in ends and to sew on “core” pocket.

Fiber fill stuffing

Mix herbs (such as rose petals, or lavender) or essential oils ( such as rose, sandalwood, or jasmine) that are associated with love attraction with the fiber fill.  Focus on the intent of your spell as you mix to “infuse” the fiber fill with the energy of your desires.

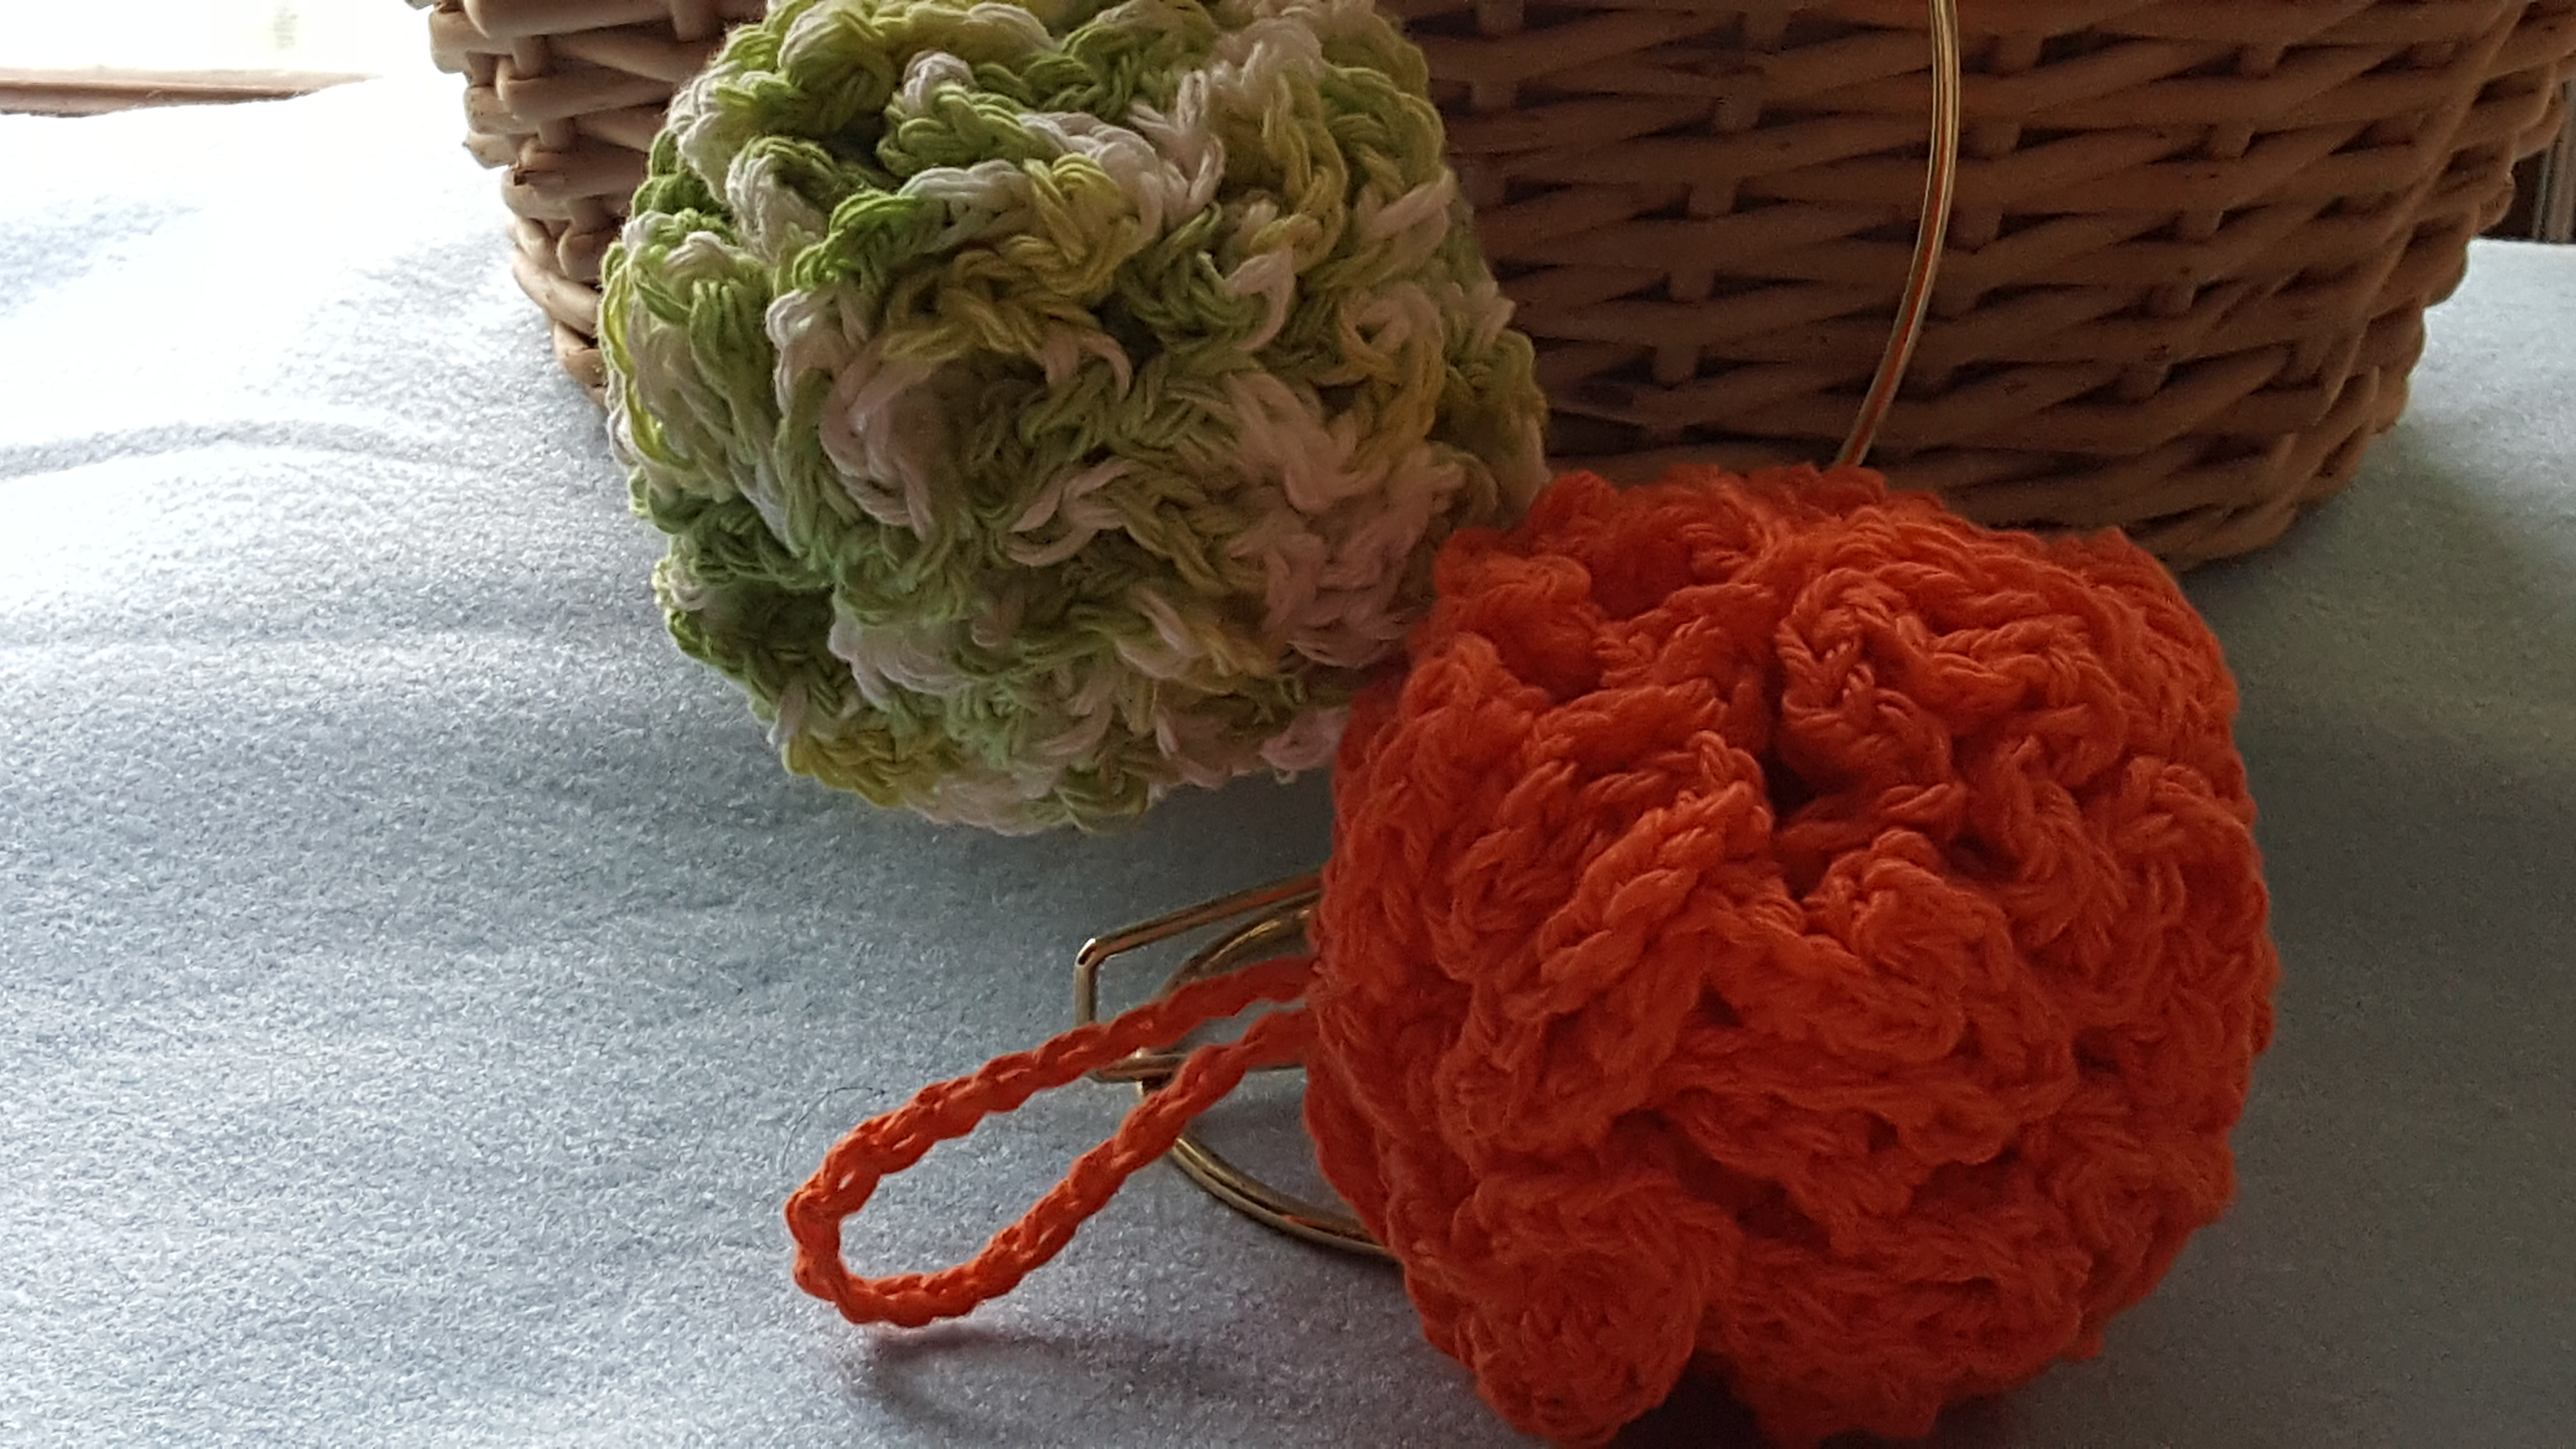
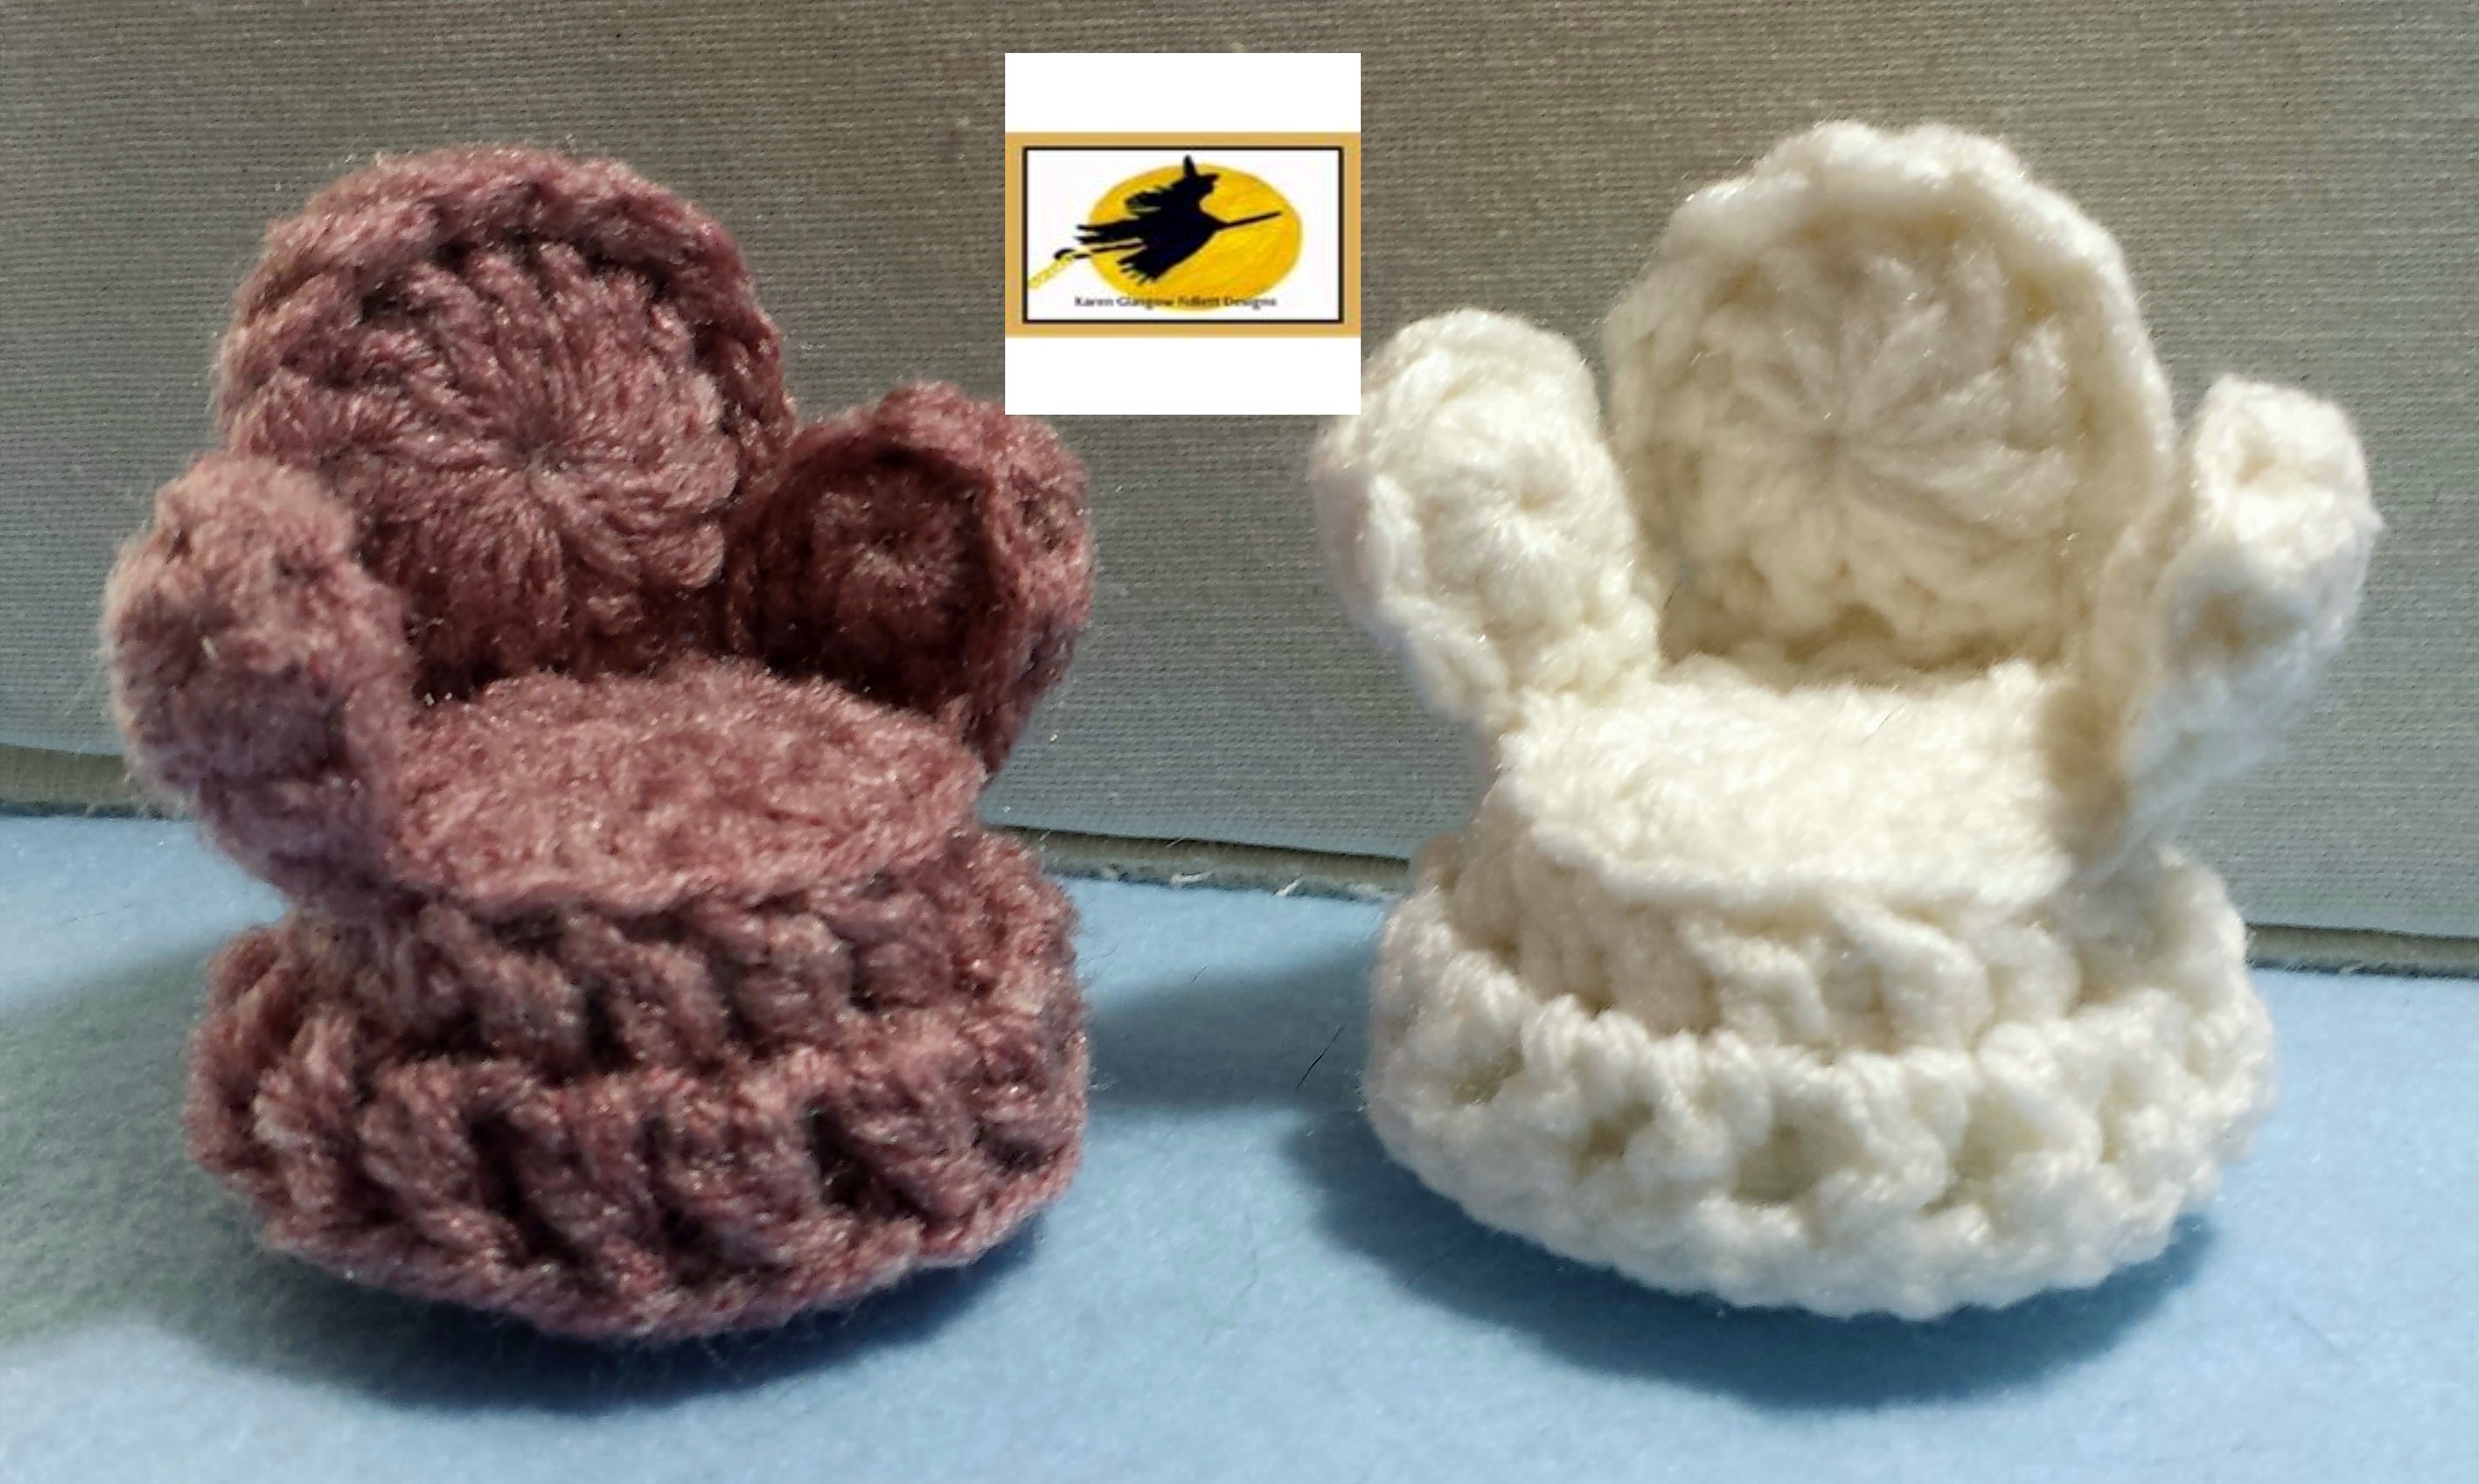
Centered on both sides of the pillow are “core pockets”  These pockets will contain symbols of the “core of your radiating energy” and the “core of the energy that you desire to be drawn to you.”  These symbols can be a written list of attributes, or runes, or gemstones (such as garnet or rose quartz, clear quartz, etc)  You can either decide on these symbols prior to beginning your pillow, or, you may get an even stronger sense of these symbols while you work on the creation of the pillow.  *These pockets can be worked as shown on the graph (as a square) or as a heart as shown the pictures*

The art of crochet works perfectly in tandem with the art of magical creation.  Projecting the energy of your focused intent infuses your creation with the magic of your desires.  As you work the repetitive stitches of crochet (or any needlework) your brain shifts into an alpha state of function.  The energy waves generated during this mind state are synchronized with the energy of the earth.   This harmony carries the energies of manifestation to this plane of existence.

The crochet stitches that you will use for this pillow are a slip stitch (slp st)  single crochet (sc), double crochet (dc) chain (ch). Treble (Tc), Treble crochet cluster (Tc CL).  You will also be working from a graph that will indicate the change of color necessary to create the images in the crochet fabric.

To work a treble crochet cluster; Y.O twice,* insert hook into designated stitch, YO, pull back through, Work off 2 loops, YO, work off 2 loops*,  Do not complete last step, but YO twice and repeat from * to * then YO and work off remaining loops.  This completes the stitch.

The charts included with this pattern begin at the lower right.  The first row of single crochets is row 1.  This row and all subsequent odd numbered rows are worked from the right to the left and are considered to be the front or “right” side of the work.  The even numbered rows are worked from left to right and are considered to be the inside or “back” side of the work.  The marked squares indicate the changes of color from main color to the complimentary color.

To change color in crochet; work the stitch just prior to the color change to the last step (in this pattern, there will be 2 loops on the hook)  Yarn over in the new color and complete the stitch.   In this pattern you can complete the heart color changes by holding the unused color yarn to the back side of the piece and working your single crochets over this unused yarn until it is needed again.  Instead of carrying the unused color of yarn from heart to heart, you may want to drop the complimentary color after the completion of one heart.  You can make a separate ball of complimentary color yarn to create the next heart color changes.   Using the tapestry needle, weave in the ends (or tails) on the back side of the fabric.

We are the centers of our universe.  Our thoughts, beliefs and expectations create the people, the events and the situations in our lives.  Since we are at the core of all that we attract; begin your pillow with the first chart of “radiating out.”   (if it makes more sense to you to change the pattern charts, please feel free to do so.  This is your magic and your intent supersedes any instruction that I have written)

If you know that you have patterns of thought and behavior that have historically attracted those who are not in your best interest; you may want to resolve these patterns prior to beginning this work.  Or you may want to meditate in communication with your Higher Self to focus on the true, beautiful, authentic “you” who deserves to attract nothing less than the best.

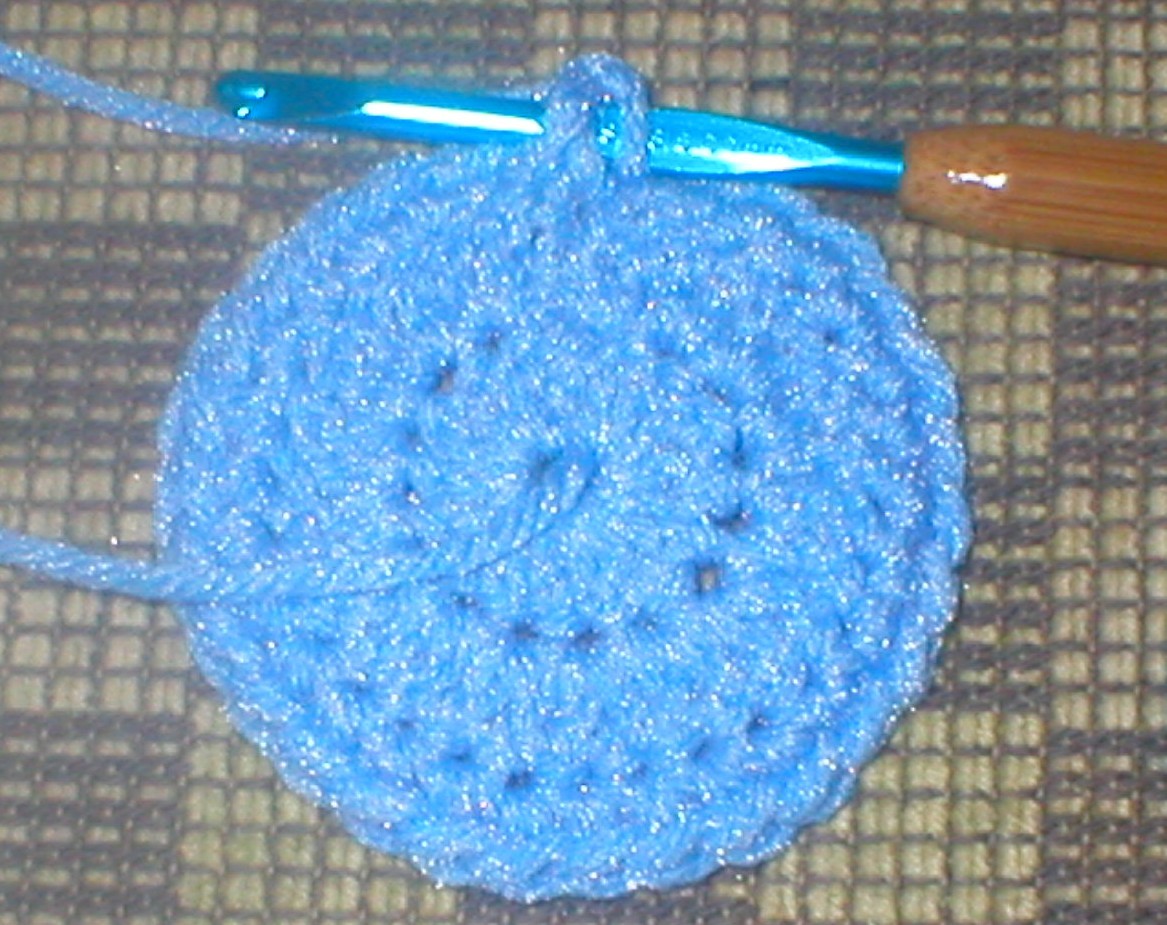
Begin the chart with a chain of 46.  Single crochet in the second chain from the hook and in each chain across for 45 single crochets.  As you work the radiating chart, visualize the wonderful you that you are radiating out.  The energy body that knows that you deserve to thrive in love with yourself and then to thrive in love with another person.  Focus on the attributes that are you or focus on the Higher Self flow of radiant energy.   At the end of row 45, cut and secure the yarn.

Maintaining the Higher Self radiant focus, begin the core pocket (or optional heart).  Chain 16.  Single crochet in the second chain from the hook and in each chain across for 15 single crochets.  Complete the pocket as per the chart .  Using yarn and the tapestry needle, sewing the pocket to the center of the pillow side.  Insert your symbol of your “core.”

Before you begin the “attraction in” chart, please pay heed to the “high probabilities” that are associated with magical attraction.   One probability is that you will receive what you request.  Keep this in mind.  Allow your Higher Self to know and to draw toward you the energy for your greater good.  (not the gorgeous blonde with the six pack abs and great glutes  that you met last week)  A second probability is that – in order to receive – you must be willing to receive.  Pay close attention to any of those “self limiting” voices or feelings that may emerge while you work.  Please work with these feeling prior to attraction as their “energy of expectation” could be a magnetic pull.  A third probability is that any sustained energy for any thoughts will draw their thought creations toward you.  So if you focus on “what you don’t want;” you will draw exactly “what you don’t want.”

Begin the “attraction in” chart with a chain of 46.  Single crochet in the second chain from the hook and  single crochet in each chain across for a total of 45 single crochets.

Visualize the Higher Self energy magnetizing the energy attraction for your greater good.  The attributes that will nourish and nurture you.  Work the piece as per the chart.  At the end of row 45, cut and secure the yarn.

Complete the core attraction in pocket as per the chart while maintaining the focus of the Higher Self.  Sew the pocket to the center of the attraction fabric.  Insert the symbol of the attraction energy.

OR to work the heart;

Ch 2,

1)      Work a sc in the 2nd chain from the hook

2)      Ch 1, Work 3 sc in the sc, (3)

3)      Ch 1 Work a sc in each sc across (3)

4)      Ch 1, Work 2 sc in first sc, sc in 2nd sc, and 2 sc in last sc, (5)

5)      Repeat row 4  (7)

6)      Repeat row 4 (9)

7)      Ch 1, sc in each sc across (9)

8)      Ch 1, sc in each sc across (9)

9)      Do not work sc, Slp st in to first stitch, * Skip next stitch, Work 5 dc in the next stitch, Skip next stitch, slp st in next stitch*. Rpt from * to *.  Do not fasten off

Work edge; Ch 1 sc in same slp st on row 9, Evenly space 7 sc along side to tip of heart; Ch 1, sc in tip, Ch 1, Evenly space 7 sc along side to row 9; Work sc in each dc, Slp st in the base of the slp st. Work sc in remaining 5 dc, slp stitch to beg sc.

Cut and fasten off yarn

Attach Red (or other cc) to back loop of heart edge, Ch 1, sc, in same stitch as joining.  Ch 1, sc in the back loop of each stitch around.  Ch 1, join to beg sc.

Attach to pillow from row 9, along tip to row 9 on the other side.

Attach ribbon as desired.

Blend fiber fill maintaining your focused intent.

Hold the” radiating out” and the “attraction in” sides together with right sides facing out.

You will attach these side together by working sc in to the back loops of each stitch)  The back loops are the loops of the stitch that are the furthest away from the right side of the crocheted piece. In this instance the back loops are the loops that are sandwiched together.

Working in the back loops through both pieces; Join complimentary color with a slp st through the back loops  at any corner. Ch 1, work 2 sc in the corner. * Work a sc in the back loops of each stitch across to corner, work 3 sc in corner.*  rpt from * to  * twice.  Insert fiber fill as needed as you work up the last side. Work sc in each sc along side to beg corner, work sc in the beg corner, join to beg sc with slp st.  Do not cut for fasten off yarn.

In same space; Ch 4, tbc. Ch 1, Tc CL, in same corner space. * Ch 1, Tc CL in each stitch across to corner.  Ch 1, Tc CL, ch 1, Tc CL in corner. * Rpt from * to * twice.  Ch 1, work tbc cl in each stitch to beg corner, ch 1, join to begin cluster.  Cut and fasten off yarn.

Join CC “B” in to the unused loops of beginning edge sc, Work sc ch 1, in each unused loop around.  Join to beg sc with slp st.  Cut and fasten off yarn.

To complete the spell gather your pillow and a pen and paper to your bedside.  As you relax and meditate to your Higher Self, state these or similar words;

“Through slumber’s waves of starry night –

Together our souls call

Together our energies draw

To Love’s attraction of full moon’s light.”

Visualize the magnetic swirl of energy from your etheric body; the Higher Self energy of love’s attraction.  Focus on your feelings of welcomed and nourishing love.  Focus on these feelings and this love being yours in the here and now.  Allow yourself to drift off to sleep, affirming that your Higher Self will bring you the desires of your greater good.

Before arising in the morning, journal any dreams, perceptions or feelings that emerge with your initial awakening.  Thank the universe and affirm that love is attracted to you.

Know that you have expressed your intent to the all knowing and all loving universe.  The universe will answer your intent with the messages and the events that will lead you to a place of unconditional love and nourishment.

**Please note that, as with all spell work; the magic is within the practitioner; not within the spell itself.  Your results may vary**

(graph to follow on next page)

Cpr Karen Glasgow – Follett  2007 updated 2011.

*** Note – This graph has been quite stubborn with uploading.  If you are having trouble seeing the graph (which the entire pattern is based) please feel free to email me at underthemoon3@aol.com.  Place Love’s Enchantment (or some such) in the subject line and I will be happy to email you a PDF of the pattern.  THIS OFFER EXPIRES 12/31/12