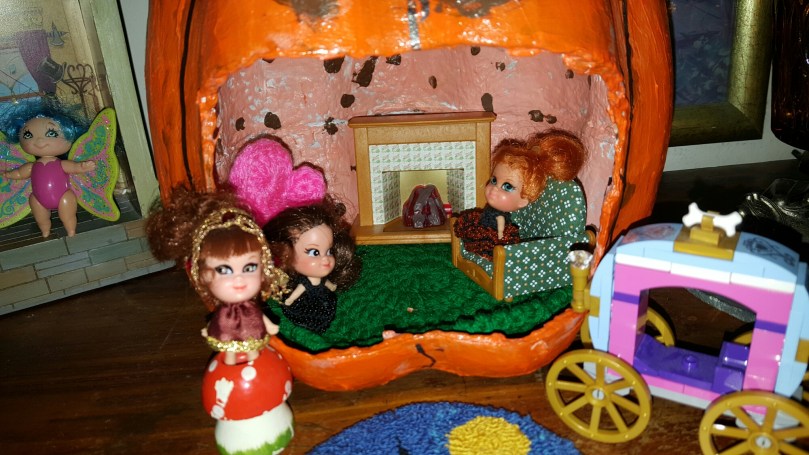
Crochet Gown For 5 inch Vintage Tiny Teen Doll
Collectors are a determined breed of people. We will quest, ad infinitum, for that desired piece to add to our collection. Doll collectors take this determination to an even higher level, as, more often than not, we are questing for the dolls, the clothing and other accessories that belong to a particular doll. There are times that finding a “complete doll” is as rare as finding a unicorn with our “complete doll” perched on top.
I am a baby boomer age collector. Most of the dolls I collect are the dolls from my childhood. This pattern is to create a gown for one of my collecting favs – the 5 inch Tiny Teen doll.
Materials Needed
1 Ball Size 10 Crochet Cotton Thread
1 Size “7” (1.65mm) steel crochet hook
2 approximately 4mm pearl beads
Tapestry needle (or other larger eye needle)
Small sewing Needle (needs to fit through the bead hole)
Sewing thread.
Scissors
Stitches Used
Sc – Single crochet
Ch – Chain
Dec – Decrease
Sl st – Slip Stitch
Dc – Double crochet
Pattern
Gown Top
Ch 21,
Row 1; Work 1 sc in the 2nd ch from the hook and in each ch across. (20) Turn (mark as the right side)
Row 2; Ch 1, Work 1 sc in each sc across. (20) Turn
Row 3; Ch 1, Work 1 sc in each of the next 3 stitches. Ch 7, skip 2 stitches, Work 1 sc in the next 10 stitches. Ch 7, skip 2 stitches,Work 1 sc in each of the remaining 3 stitches.
Row 4; *You will be working in to each chain stitch of the ch 7 arm openings* Ch 1, Work 1 sc in each of the first 2 stitches. Work a sc dec through the next 2 Stitches. Work 1 sc in each of the next 5 stitches. Work a sc dec through the next 2 stitches. Work 1 sc in each of the next 8 stitches. Work a sc dec through the next 2 stitches. Work 1 sc in each of the next 5 stitches. Work a sc dec through the next 2 stitches. Work 1 sc in each of the remaining 2 stitches. (Turn)
Row 5; Ch 1, Work 1 sc in each of the next 8 stitches. *(Work a sc dec through the next 2 stitches) 2 times.* Work 1 sc in each of the next 2 stitches. Repeat from * to *. Work 1 sc in each of the remaining 2 stitches.
Cut and secure thread.
Skirt (worked in rounds)
With Right side of top facing you, Join thread with a sl st. Work 1 sl st in each of the stitches across. With Right side of top facing in, join to beginning sl st with a sl st.
Rnd 1; Ch 2 (does not count as a stitch now and throughout) Work 2 dc in each sl st Around. (40) Join to the beginning dc with a sl st
Rnd 2 -6; Ch 2, Work 1 dc in each stitch around. (40) Join to beginning dc with a sl st.
Rnd 7; Ch 2, *Work 1 dc in each of the next 4 stitches, Work 2 dc in the next stitch.* Repeat from * to * around. (48) Join to beginning dc with a sl st.
Rnd 8 – 9; Ch 2, Work 1 dc in each stitch around. (48) Join to beginning dc with a sl st. *if you want a longer skirt, work another round*
Rnd 10; Ch 1, Work a sc in each stitch around. Join to beginning stitch with a sl st. (48)
Cut and secure thread.
Neckline
Turn the gown to right side facing out.
Attach thread to the top left side of the neckline (top of the “V” opening in the back) with a sl st. Work 1 st sl AROUND THE POST of each stitch of the top’s row 5.
After working the last sl st on the top right side of neckline, Ch 5 (this acts as a loop for the “bead button”) sl st in the same stitch.
Work 4 more sl st down this same side of the “V” opening in the back. Ch 5, sl st in the same stitch.
Work a slp st in the base of the “V,” Evenly space 5 sl st along remaining side of the “V” to Top of gown. Join to beginning sl st.
Cut and secure thread.
Sew each bead / button in place opposite of loops.
Weave in all ends.

Cpr Karen Glasgow Follett 2018
